How to prepare your hoop for embroidery and cross stitch - a beginners guide!
One of the things I get asked about a lot is; why do I need an embroidery hoop? why can't I just stitch straight onto the fabric? The answer is that if your fabric is saggy you will just not be able to create neat stitches that sit flush on top of your fabric and it will cause you a whole heap of problems! It is just so much easier to stretch your fabric in a hoop before you start and create a strong solid foundation on which to build your stitches, it also makes the fabric easier to hold in your hands whilst you work and enables you to see your design clearly.
You ideally want your fabric as tight as a drum in your hoop, so how do you do this?

Step 1. Cut the fabric
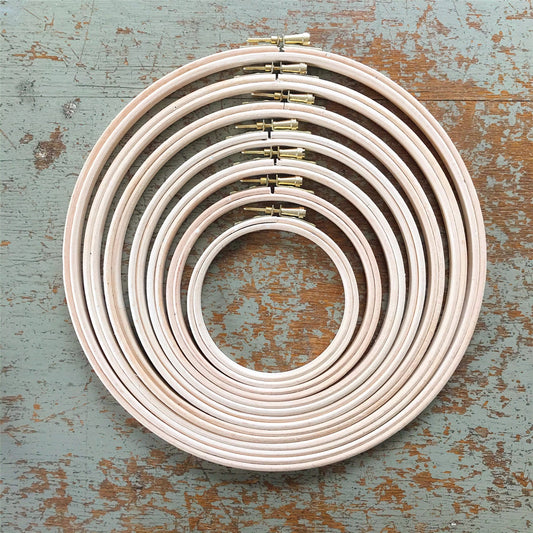
Cut out a square piece of fabric 5cm/2in bigger than your hoop. Untwist the screw at the top of the hoop a little but not all of the way and separate the two hoops.

Step 2. Separate the embroidery hoop
Place the inner hoop on the table and lay your fabric over it. The fabric should be at least 2.5cm/1in. bigger than the hoop all the way around.

Step 3. Trap the fabric inside the embroidery hoop
Place the outer hoop with the screw at the top over the inner hoop and push down. The fabric should now be held between the two hoops.

Step 4. Pull the fabric tight in the embroidery hoop
Pull the fabric so that it is centred. Tighten the screw until the fabric is secure. Keep pulling the sides of the fabric away from the hoop to tighten it further holding the outer hoop so that it doesn’t spring away from the inner hoop. Do this until the fabric is as taut as a drum but be careful not to rip or tear the fabric.

Step 5. Tighten the Fabric and secure
Tighten the screw again to secure.


