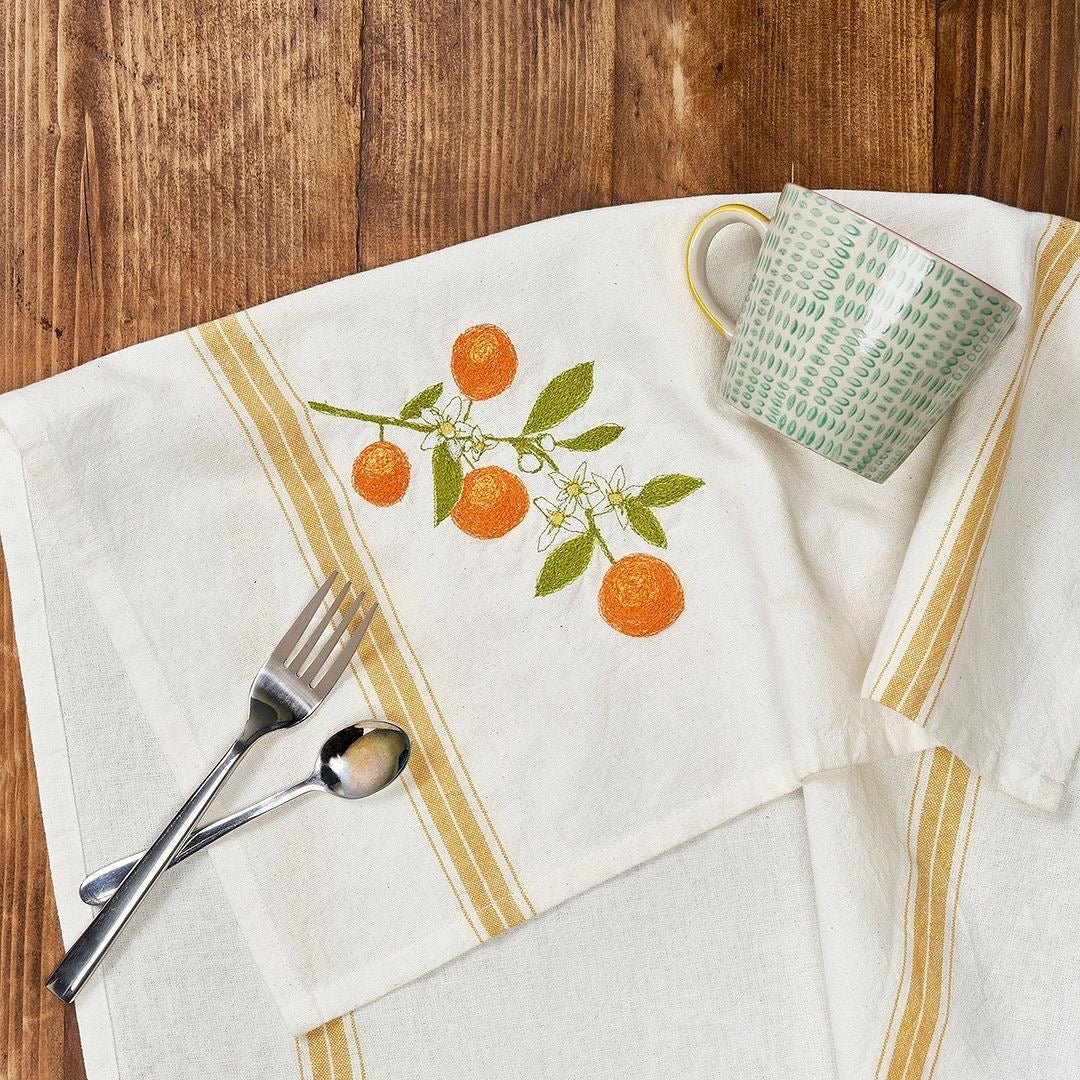
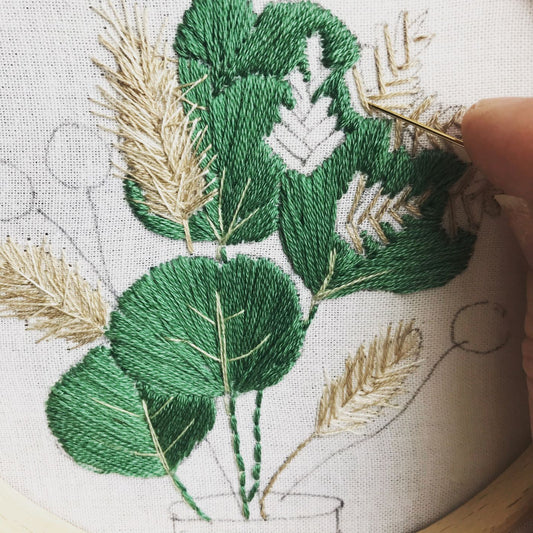
Are you ready to add a pop of colour and fun to your kitchen? Look no further! Today, we're diving into the world of DIY machine embroidered tea towels. Get ready to brighten up your cleaning routine with this Italian citrus-inspired design that will have you dreaming of summer all year long.
What You'll Need:
Before you dive into this crafty project, make sure you have the following items on hand:
- A french striped tea towel or plain if you prefer.
- A print out of the oranges embroidery pattern outline.
- An embroidery machine with free motion capabilities
- Machine embroidery thread in vibrant citrus colours. We used bright green, bright orange, bright yellow and white.
- An iron and ironing board
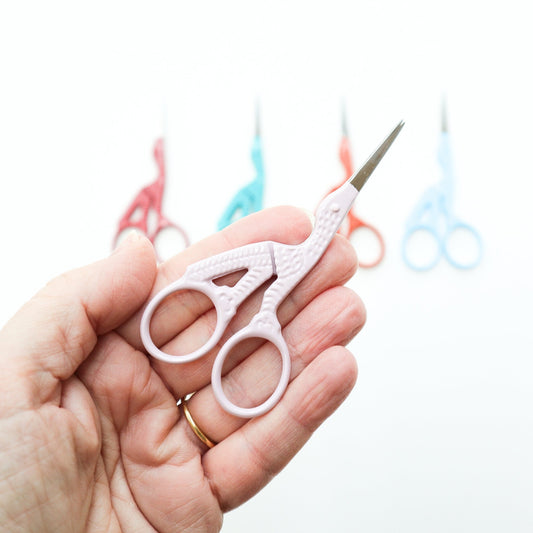
- Scissors
- An erasable fabric marking pen
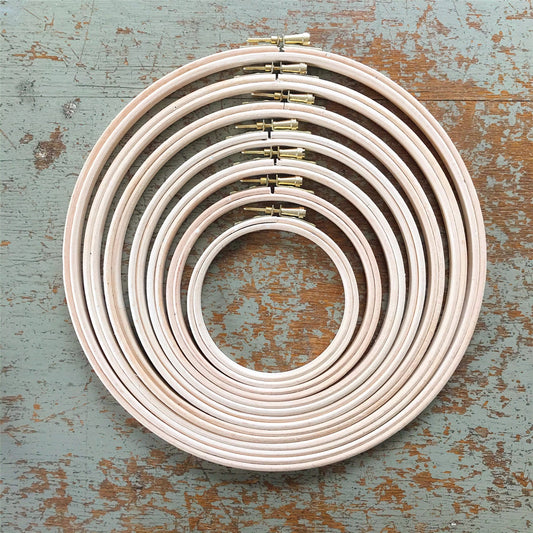
- A 9" embroidery hoop
- A sheet of dissolvable stabiliser
Let's Get Started :
Step by step guide:
Step 1

Trace the oranges embroidery design outline onto your tea towel using a water or heat erasable fabric pen. Place your water dissolvable fabric stabiliser behind your design and hoop up the fabric and stabiliser together in your hoop, pulling it tightly and secure.
Step 2

Set up your sewing machine for free motion embroidery, making sure the feed dogs are dropped. Place the large design underneath the needle of the sewing machine. Start with the green thread and machine embroider the leaves and stalk. As you stitch try to keep your stitches moving lengthways up and down the leaves and stalks.
Step 3
Change to the orange thread and fill in the round shapes to create the oranges. Start with the outline and move inwards in circular motions leaving a section blank for the yellow thread
Step 4

Change to yellow thread and fill in the area you have left on the oranges, still moving in circular motions. Overlap some of the yellow and orange stitches to blend at the edges. Now move back to orange thread and stitch over the yellow to blend the two colours more, you are trying to create an ombre affect with more yellow in the middle fading out to orange
Step 5
 .
.
Create the orange blossom by filling in the petals with white stitching. Now change to yellow thread and fill in the middle with yellow stitching. Lastly outline the petal shapes with green stitching to define them.
Remove as much as the dissolvable fabric from the back of your tea towel as you can and then remove the rest by running it under running water.
Special tips
- Move your fabric around gently underneath the needle of the sewing machine to avoid puckering, to build up stitches you can go over the same area more than once.
- Lining up your stitches in one direction gives the feeling of movement in that direction. This is great for leaves and stalks and gives a neat look. Moving your machine around in lots of different directs gives a rougher texture which is great for the peal of the oranges.
- Try to think of the colouring in of the shapes like sketching, move the machine to create form in the same way you would move a pencil.
- Don't worry about perfection - the beauty of free motion embroidery is in its whimsical and imperfect charm.
Finishing Touches:
Once you're happy with your embroidered design, give your tea towel a final press with the iron to set the stitches. Trim any loose threads with scissors, and voilà! Your citrus-inspired machine embroidered tea towel is ready to make its debut in your kitchen.
Now, every time you reach for this cheerful tea towel during your spring cleaning routine, you'll be reminded of sunny days and the fresh scent of citrus. Who knew cleaning could be so fun and stylish?
