Working with AGF fabrics for their latest collection with Bonnie Christine ‘Wild Forgotten’, we could not resist making these bunnies- they are too cute! The whimsical fabrics featuring images from nature felt like a fairytale to us, so we just had to make them into treasures for children. We hope these bunny comforters will become family heirlooms, tatty with too much love.
Bonnie’s collection was inspired by a story of a well known Children’s dictionary, having only a limited amount of words, having to remove words such as ‘dandelion’ ‘bluebell’ and ‘doe’ to make way for words used more commonly used by our children, such as ‘blog’ and ‘broadband’ . This collection of fabrics aims to keep these words alive by using them in her designs and inspiring us to teach our children about nature.
To make one bunny you will need:
- Bunny head and ear templates. Download here
- 1 fat quarter of medium weight 100% cotton fabric we used AGF Wild forgotten fabric designed by Bonnie Christine
- Small piece of contrasting fabric
- Wool wading
- sewing machine cotton to match the fabric
- fabric marking pen/pencil/chalk
- knitting needle chop stick or similar
- pins
- fabric scissors
- small sharp scissors
- Sewing machine
- Embroidery needle
- Black embroidery thread
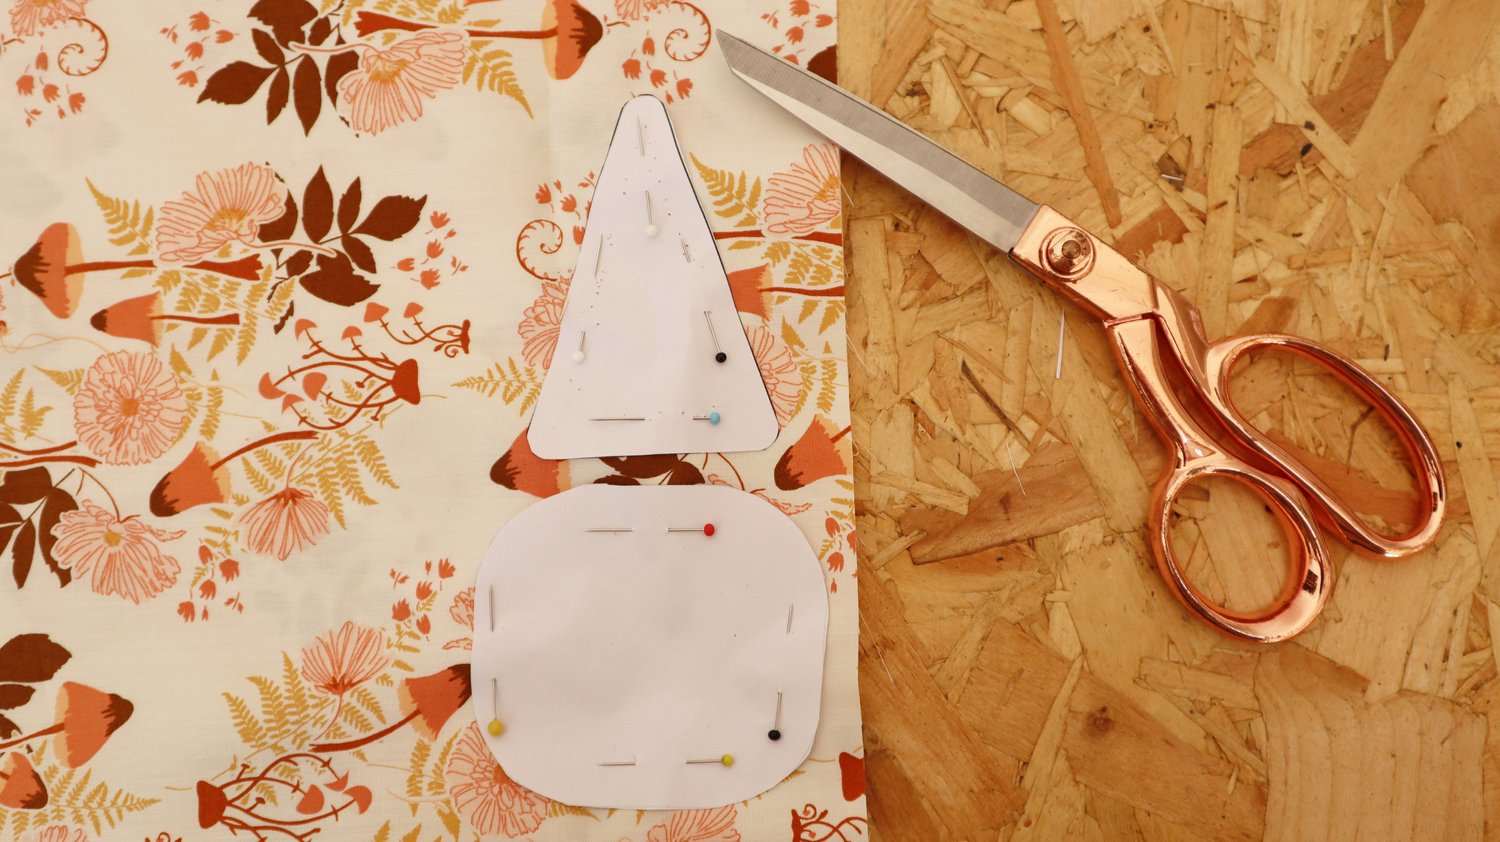 Step 1
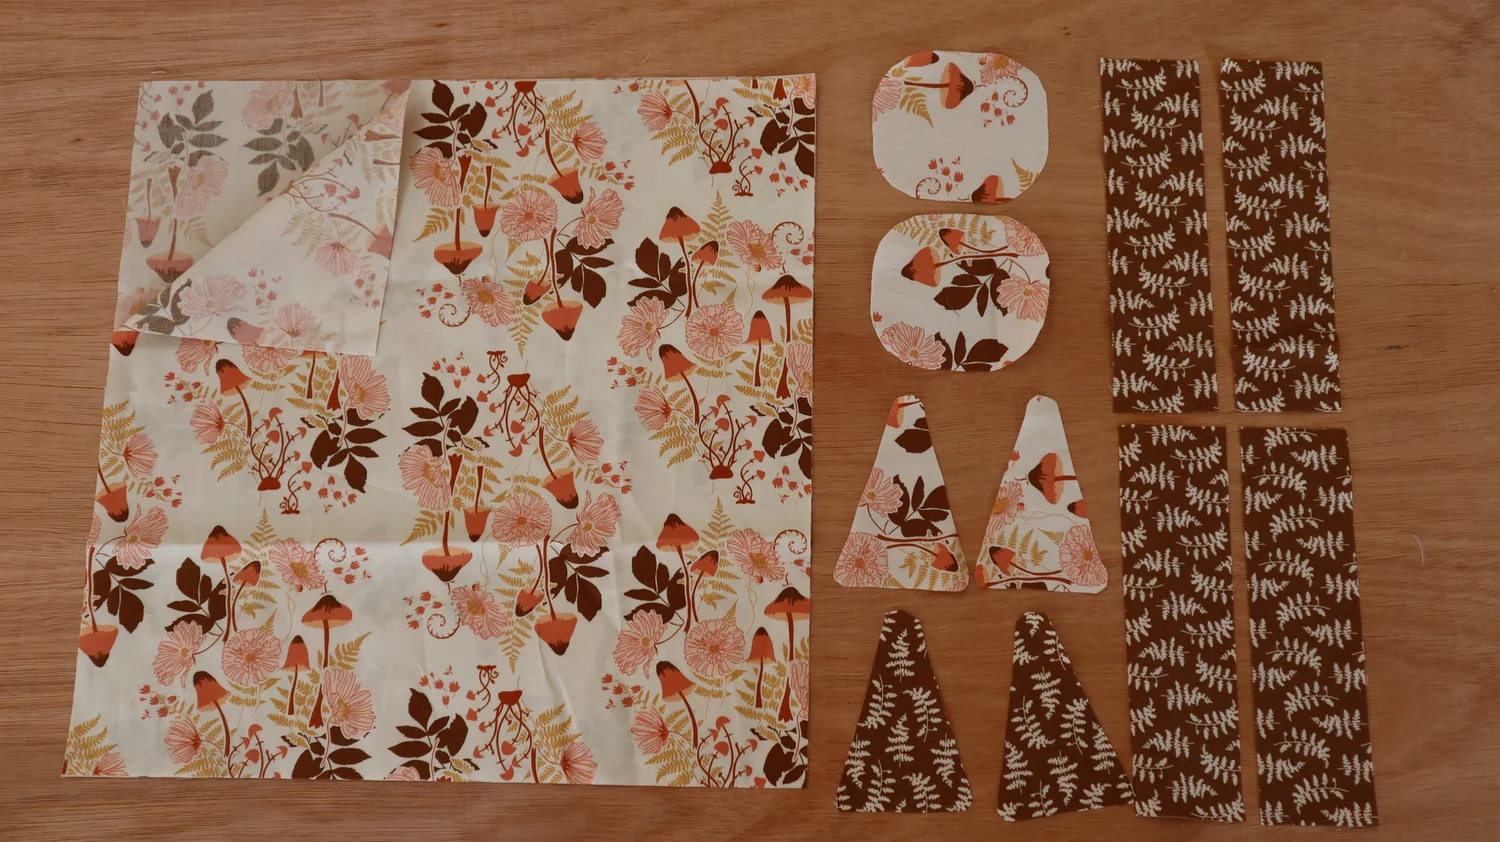
Download the template for the bunny’s head and ears here. Pin and cut out 2 x head pieces and 2 x ear pieces from your main fabric.
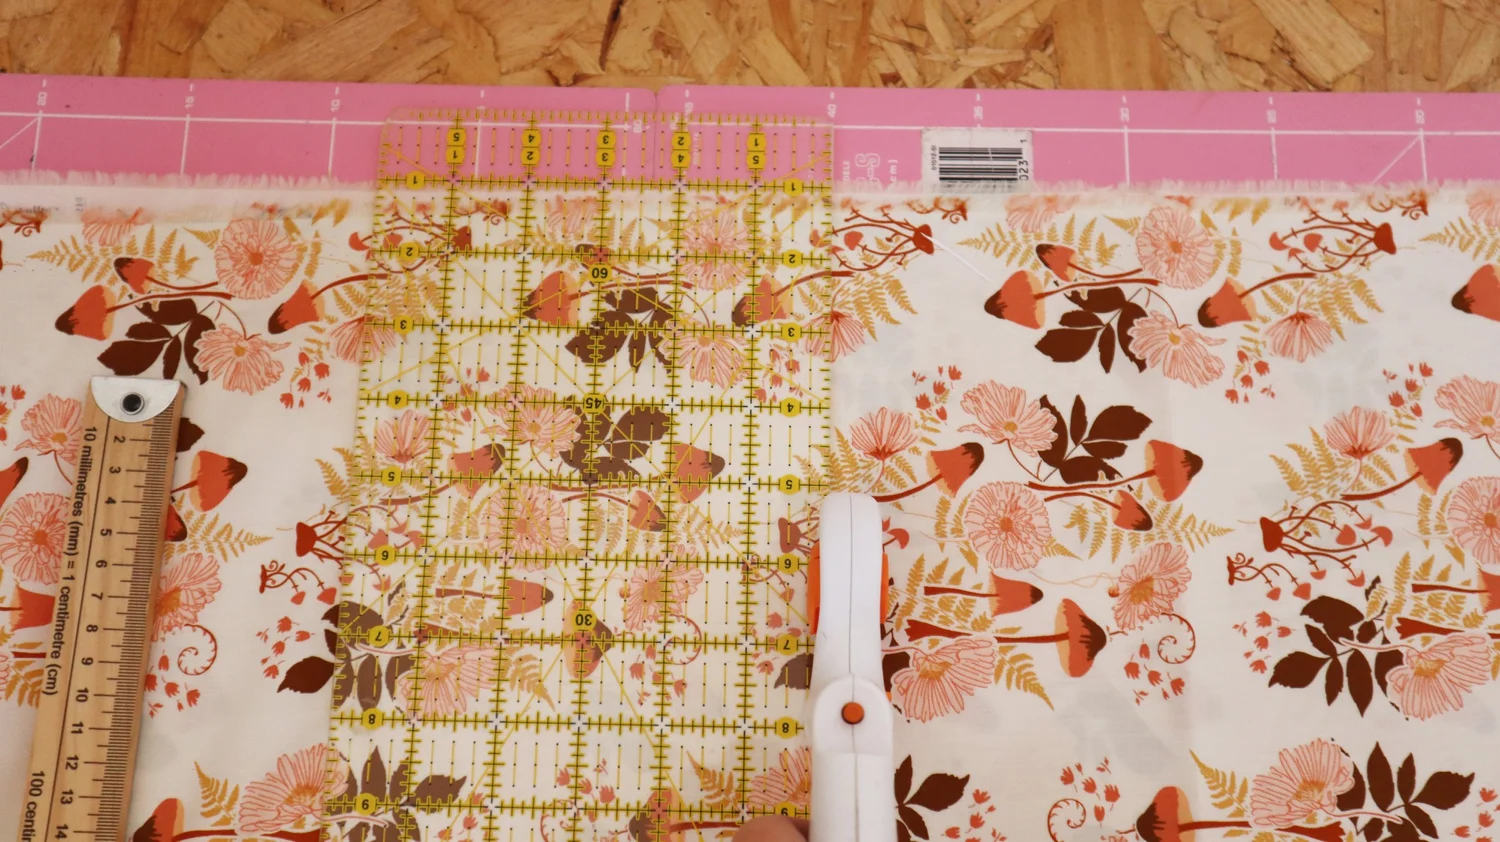
Step 2
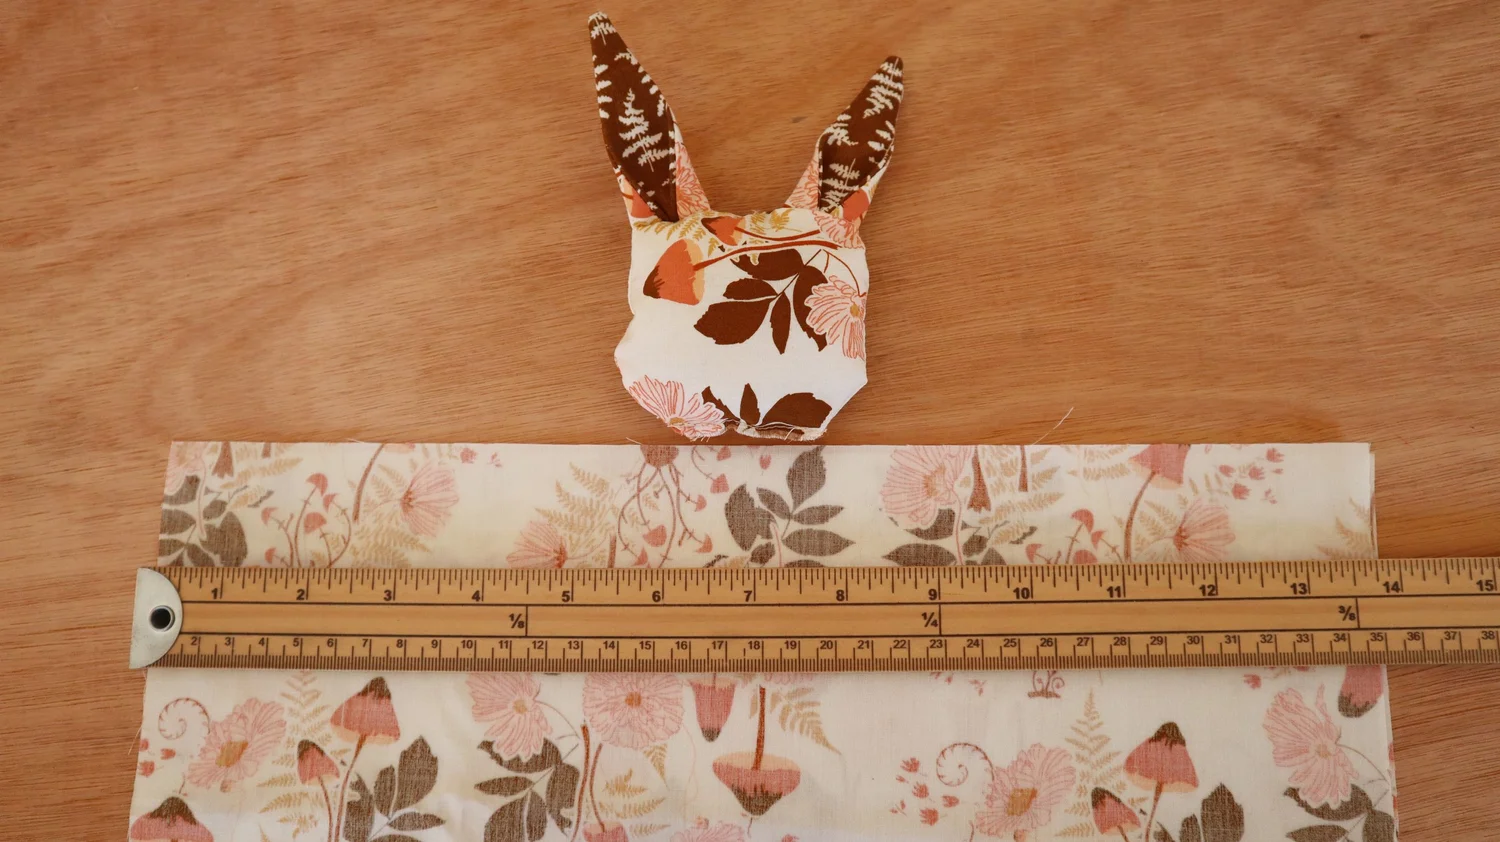
Measure and cut a 2 x squares of your main fabric 30cmx30cm /12”x12” .
Step 3
Cut 2 x ear pieces from your contrasting fabric. Measure and cut four small fabric rectangles size 5cm x 17cm/ 2”x 6.5” from the contrasting fabric. You should now have all of the pieces shown above.
Step 4
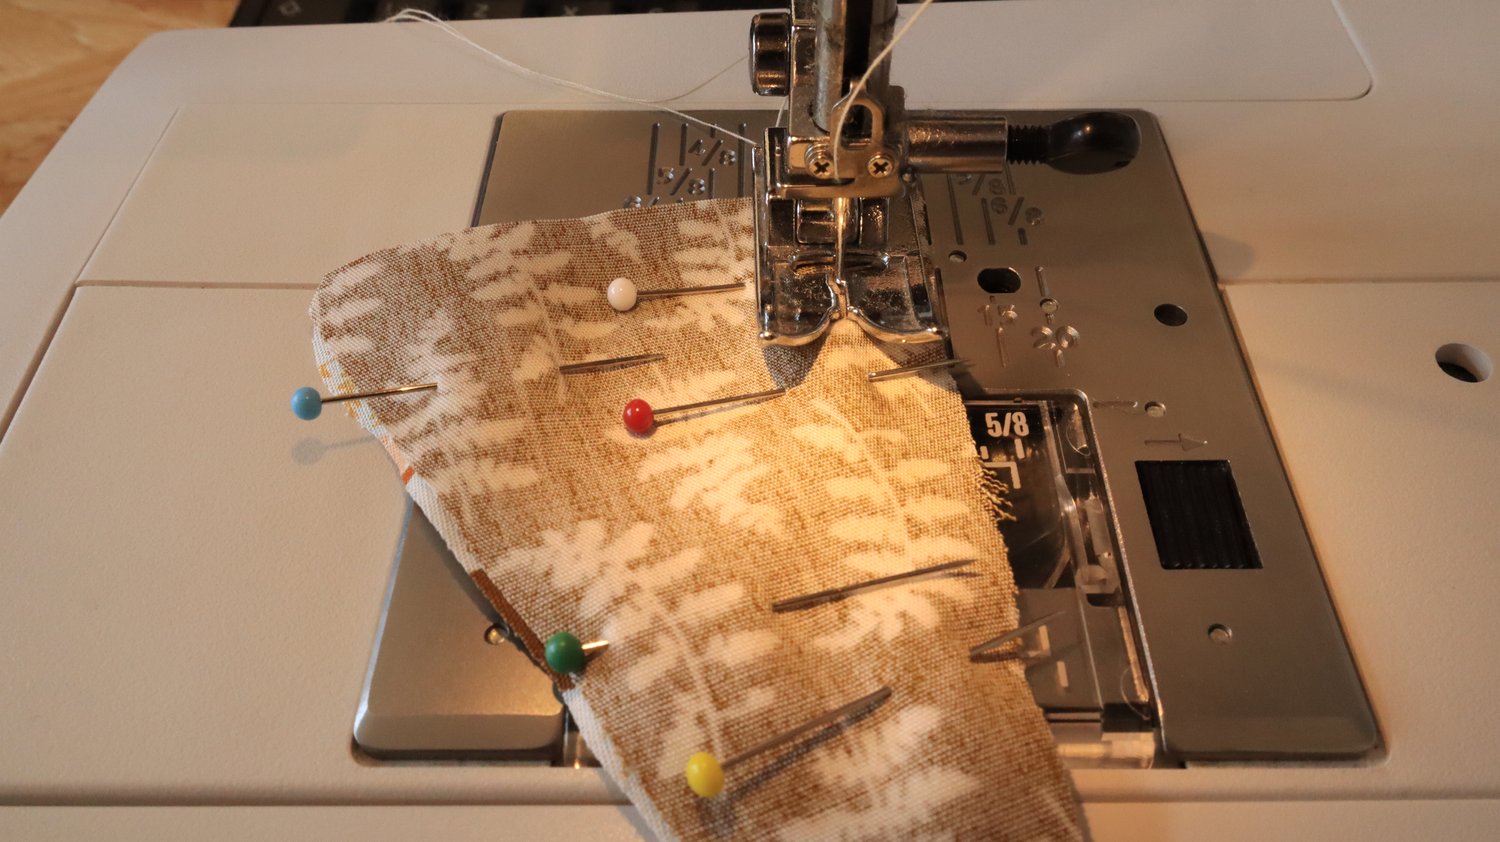
With right sides together pin and sew together one of the bunny ear pieces in the main fabric and one in contrasting fabric leaving the bottom edge of the triangle open.
Step 5
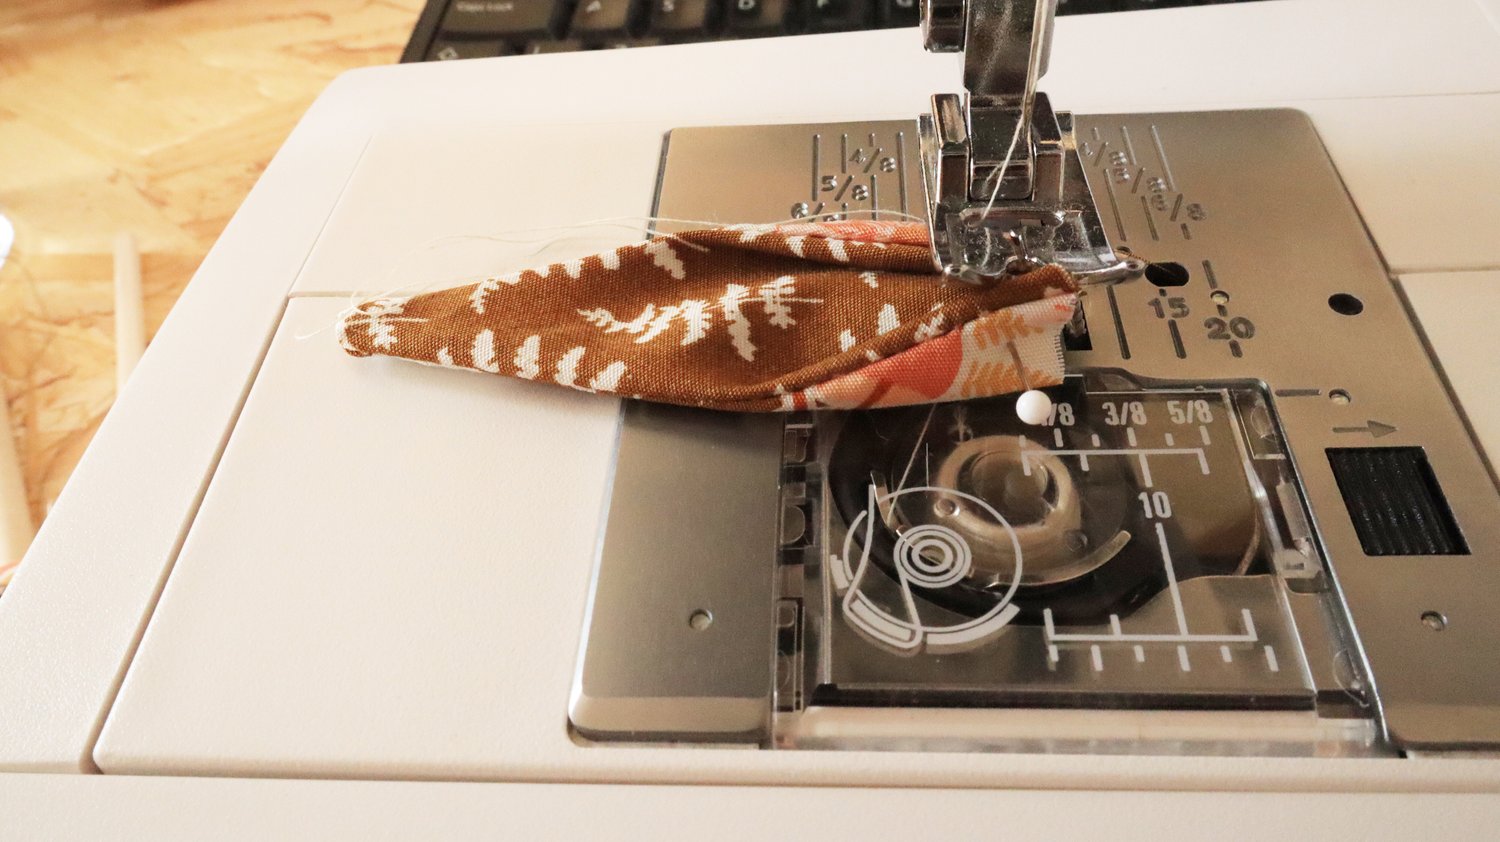
Turn so that right sides are facing out. with the contrasting fabric face up, fold in the bottom corner of each ear to meet in the middle. Pin and sew together along the bottom edge.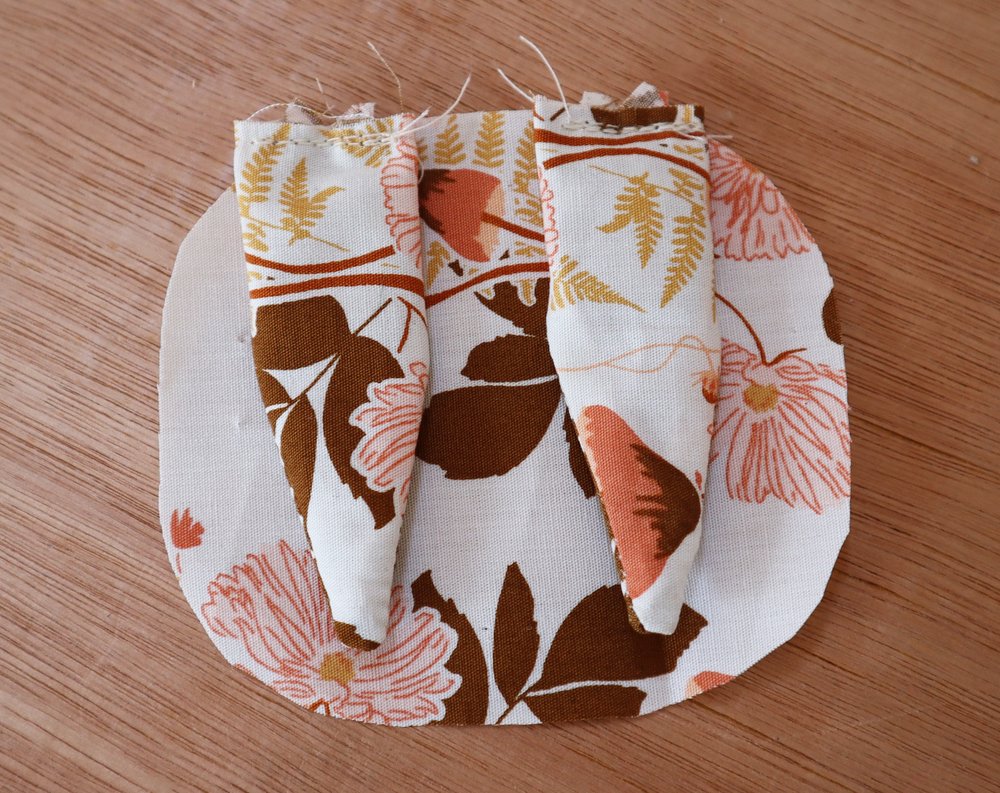
Step 6
Pin the bunny ears to the one of the bunny head pieces with the points facing down and the raw edges matching. Stitch in place.
Step 7
Place the other head piece over the top right sides together and pin in place.
Step 8
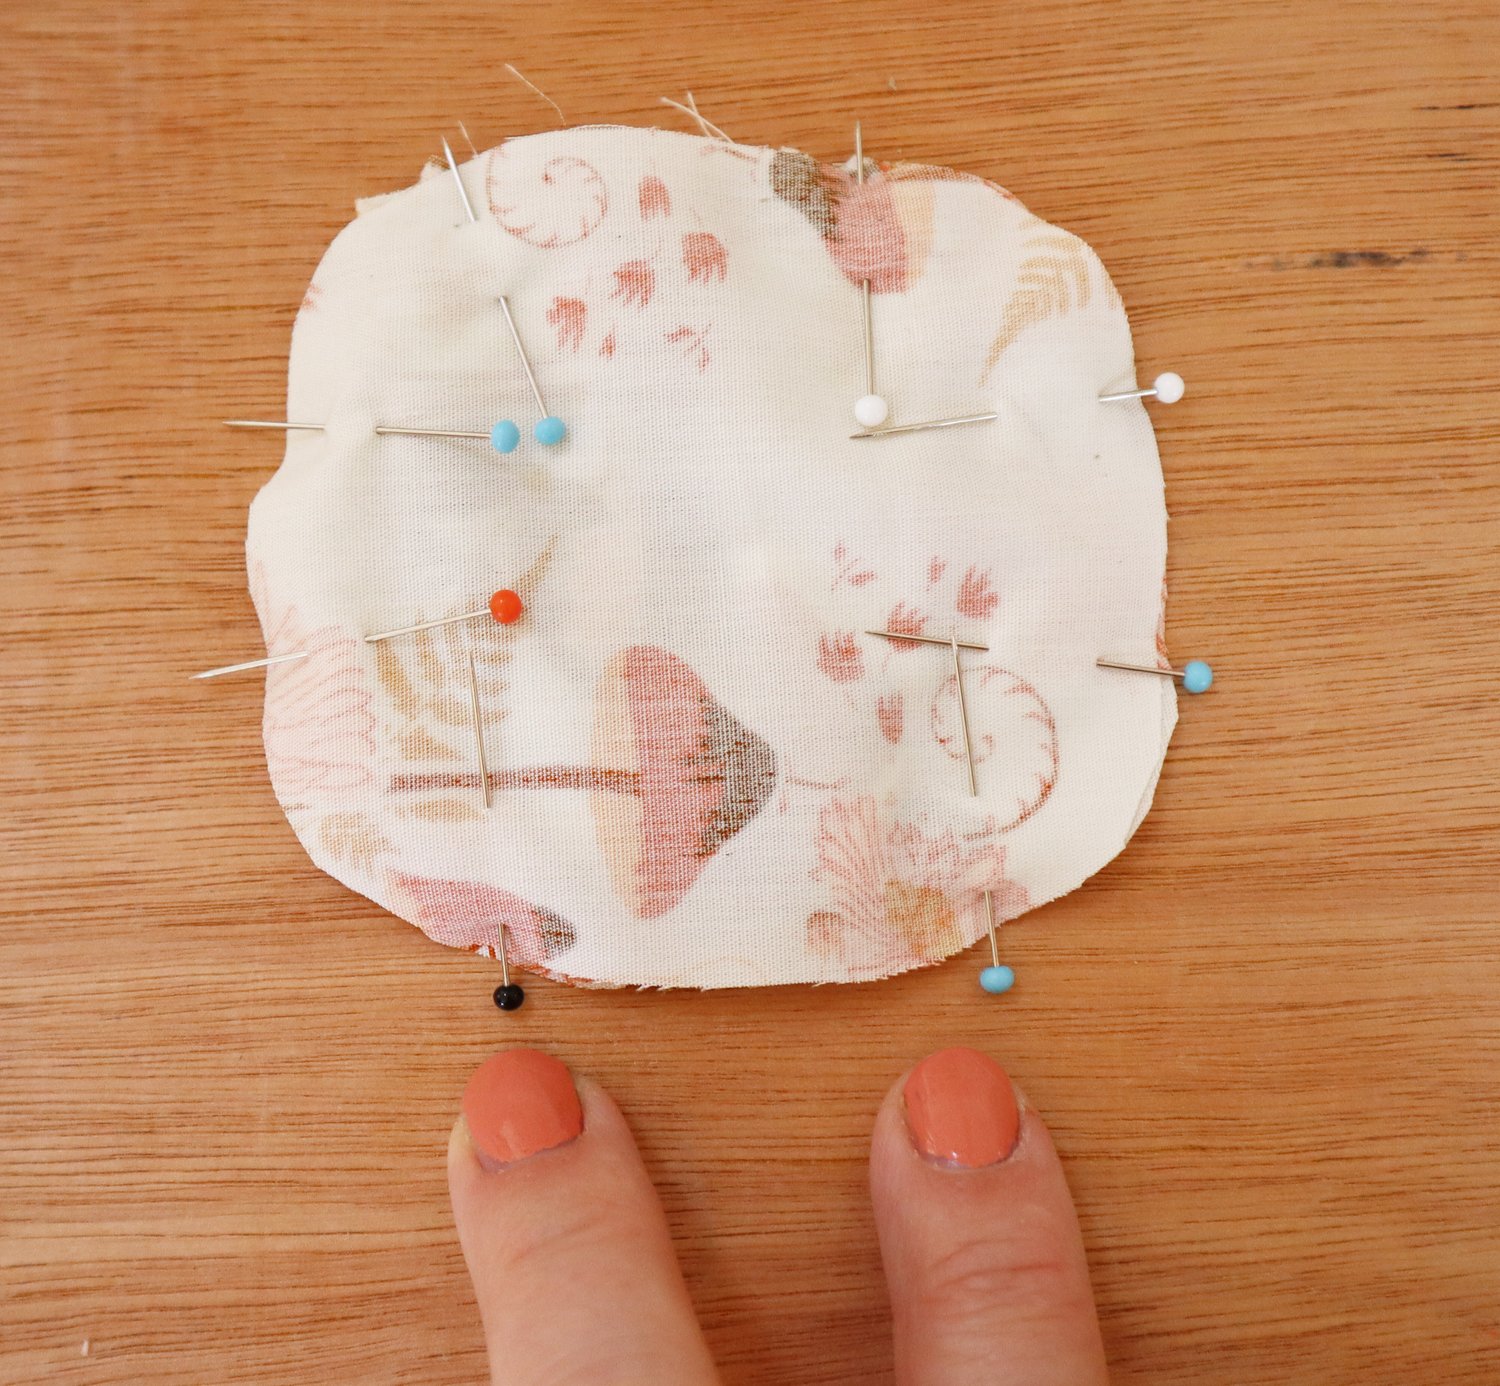
Sew around the edges using a 5mm seam allowance leaving a gap at the bottom of the head. (marked here with two pins
Step 9
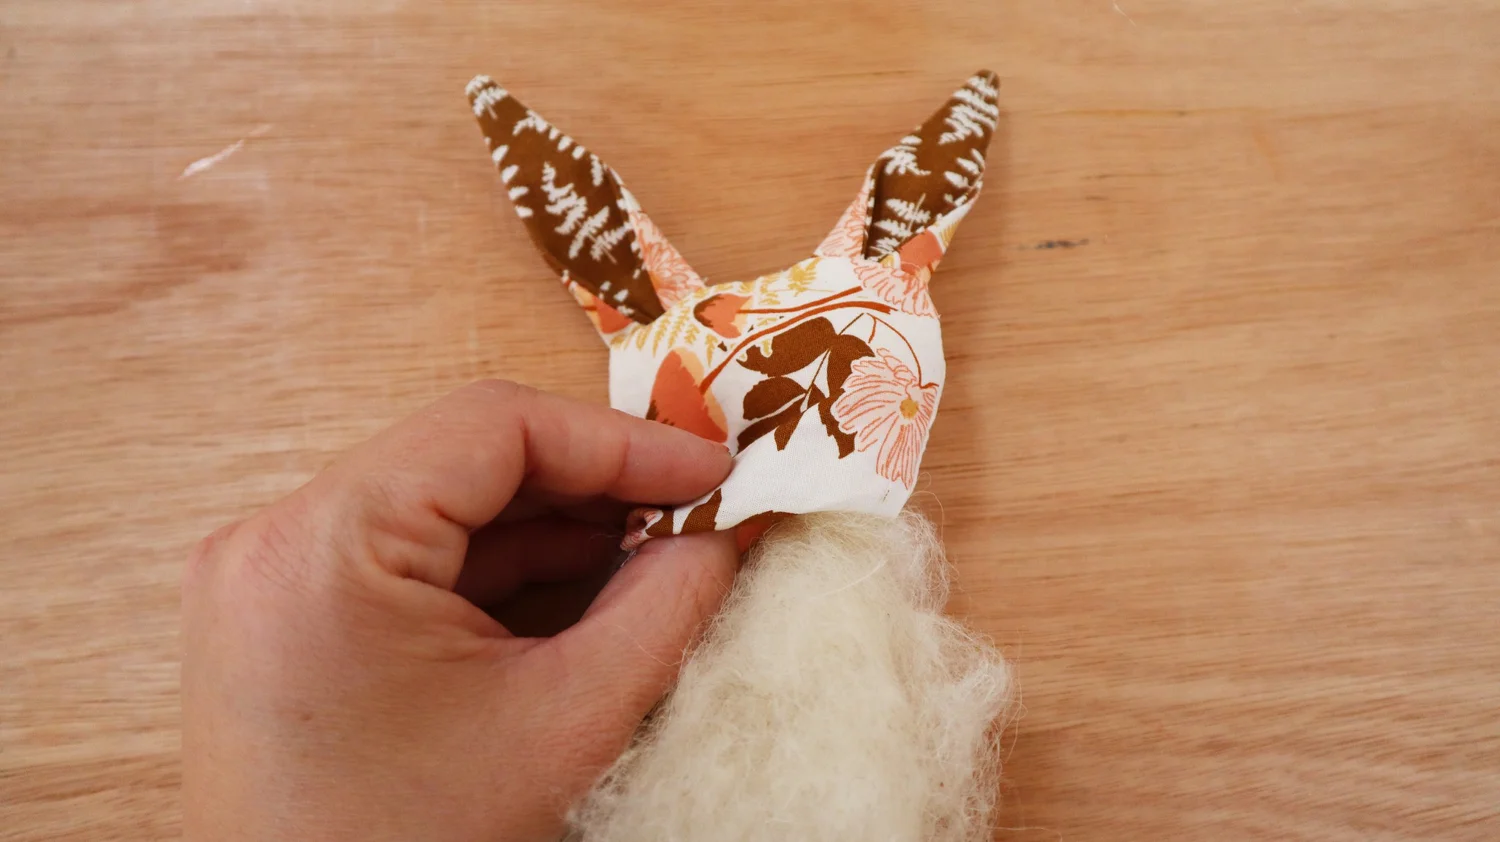
Pull through on itself so that right sides are facing out and stuff the head with wool wading.
Step 10
Now make the body of the bunny. Place the two squares of fabric right sides together and pin. Sew around the edge using a 1cm seam allowance, leaving a gap in the centre of one side 4cm/ 1 ½ “ wide ( this is where you will place the bunny’s head later on.
Step 11
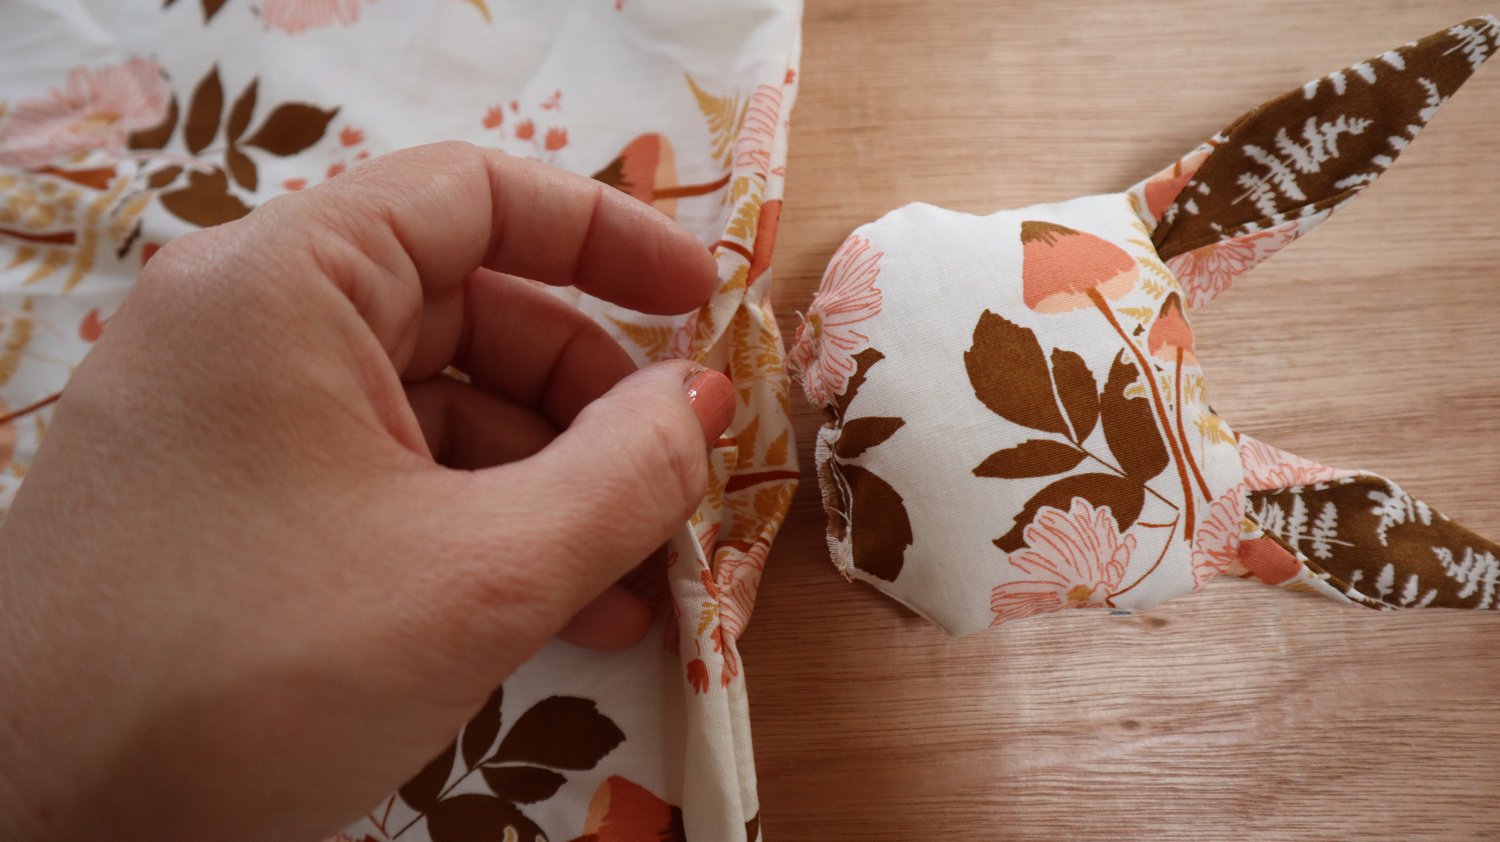
Clip the corners of the seam allowance to reduce bulk. Turn the fabric through the gap so that right sides are facing outwards. Press the seam allowances on the gap inwards. Insert the raw edges on the bunny head into the gap in the body section and pin together.
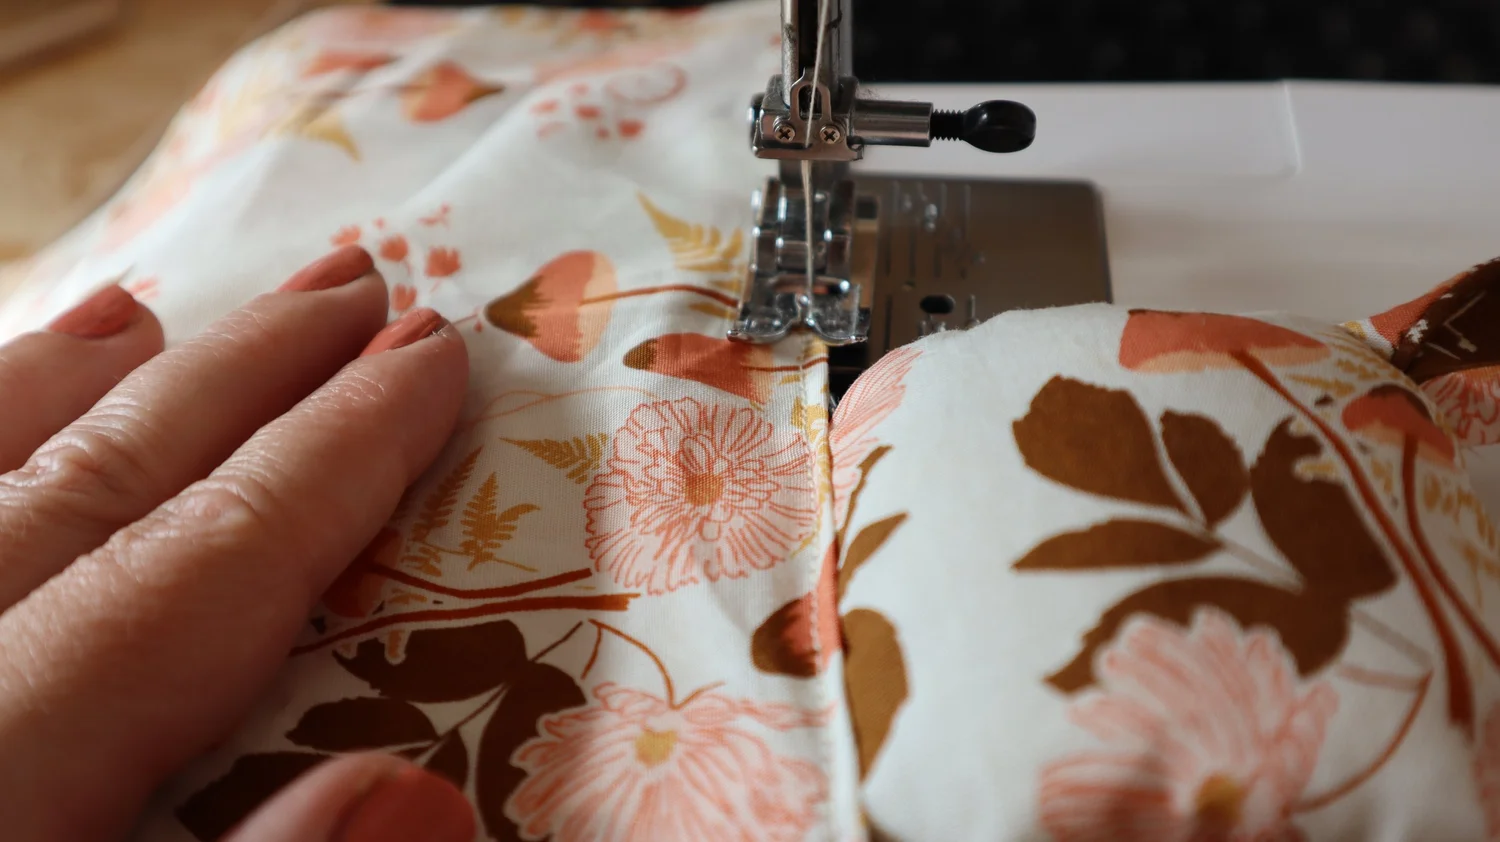
Topstitch the bunny’s head to the bunny’s body and then carry on topstitching around the whole of the body square 3mm 2/8 “ from the edge.
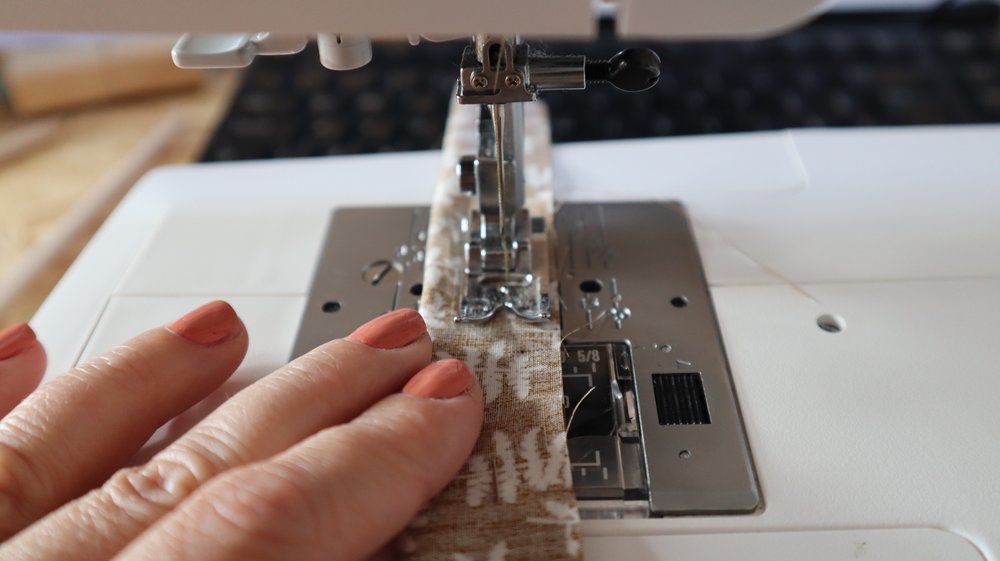
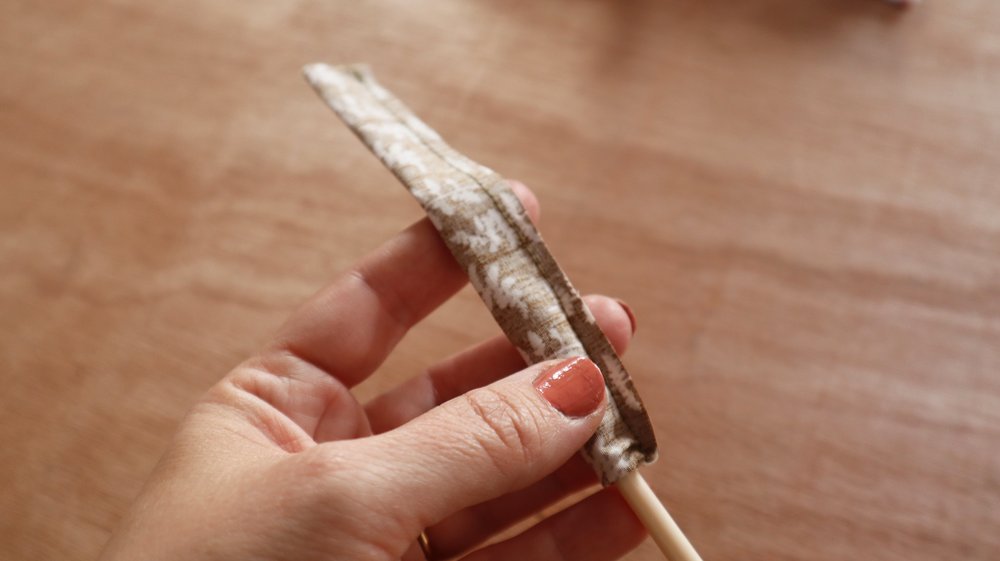
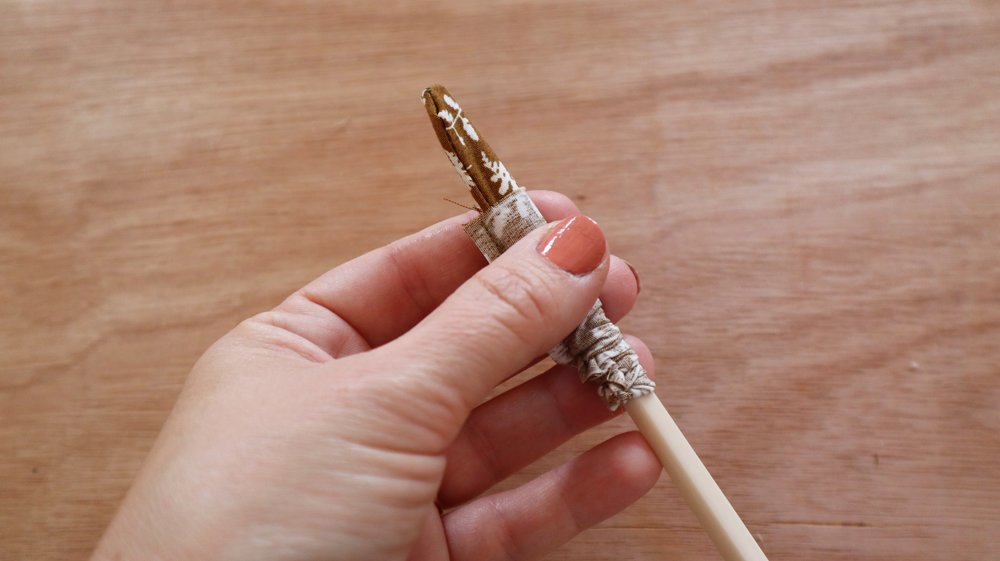
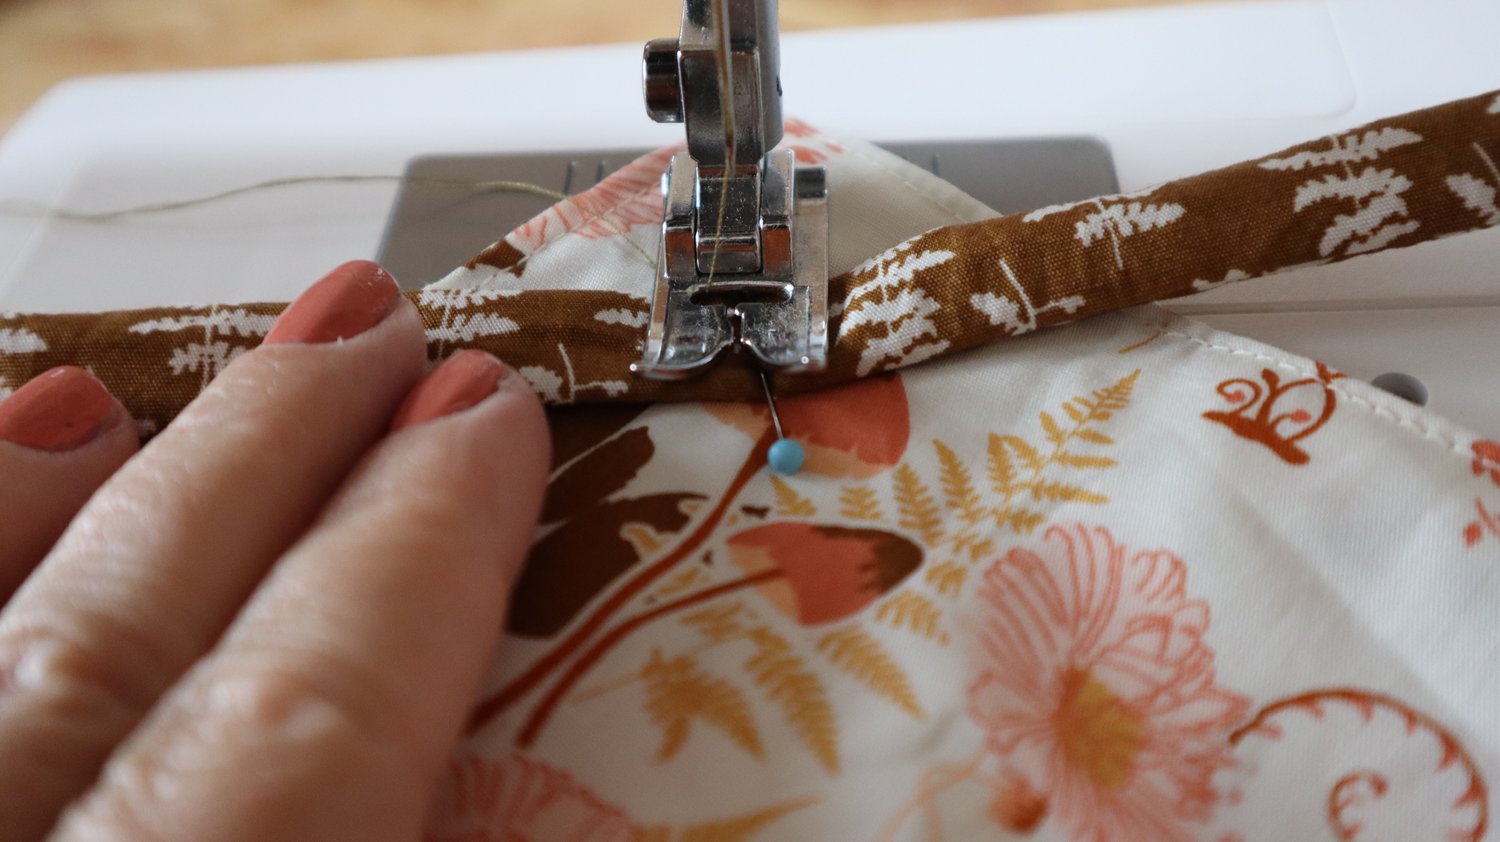
Step 12 . To make the ties for the bunny hands, fold the small rectangles in half lengthways. Sew together down one end and along the length of the rectangle using a 1cm seam allowance. Trim the seam allowances. Turn the right way through by creating a pocket in the stitched end, inserting a knitting needle or chopstick and pushing the fabric against itself. once you have pulled it through Fold in the raw edges at the end, press and top stitch closed. Repeat for all 4 ties.
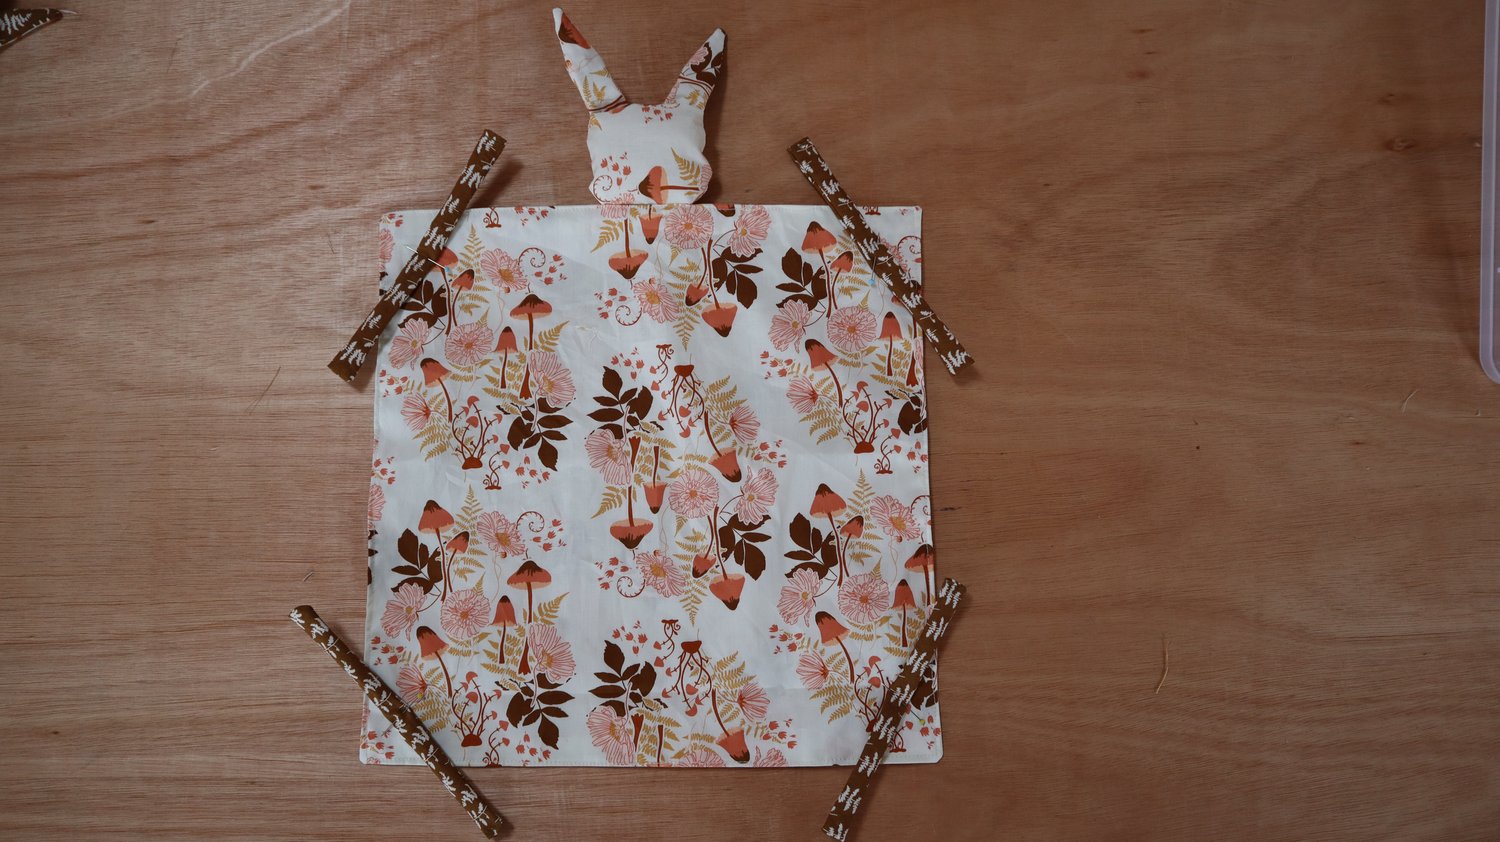
Step 13. Turn the bunny so that the front in facing down and place the ties over each corner diagonally. Stitch in place with a single line of stitching down the middle of each tie. Tie the ties around the corners to create the bunny’s hands and feet.
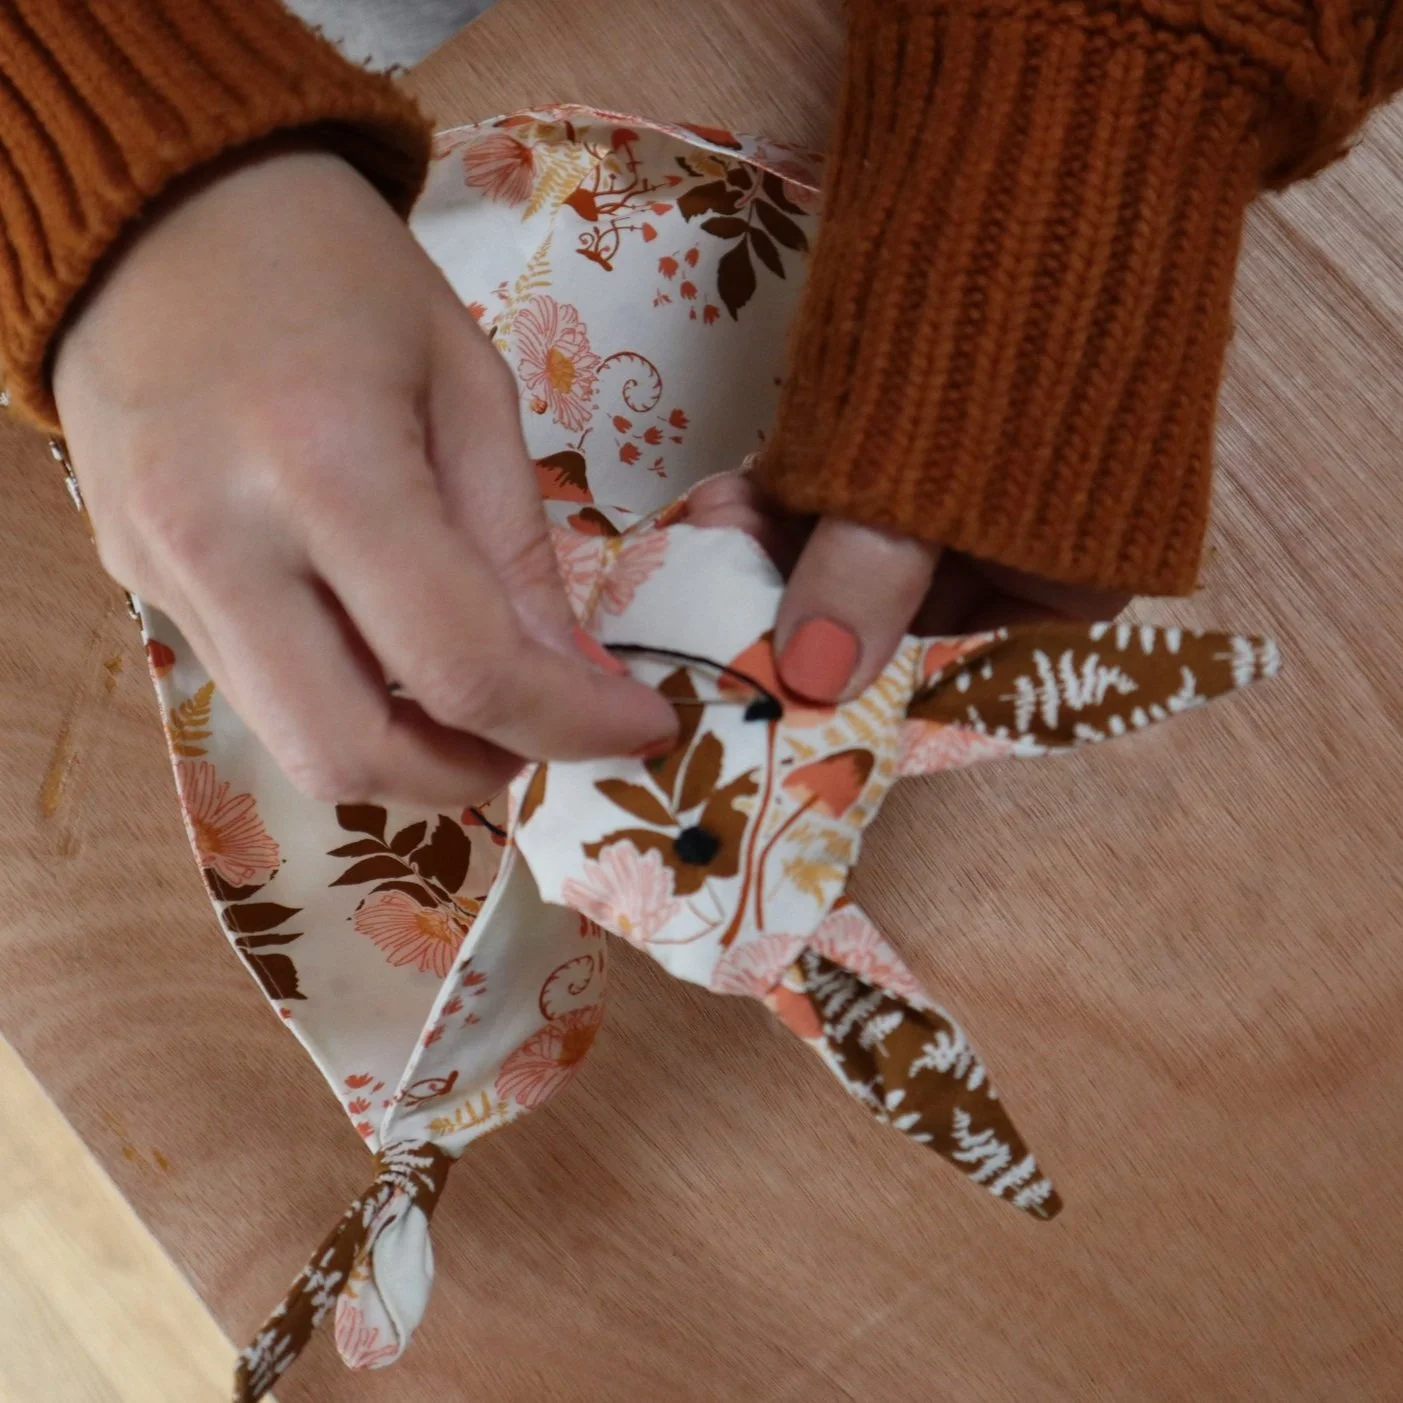
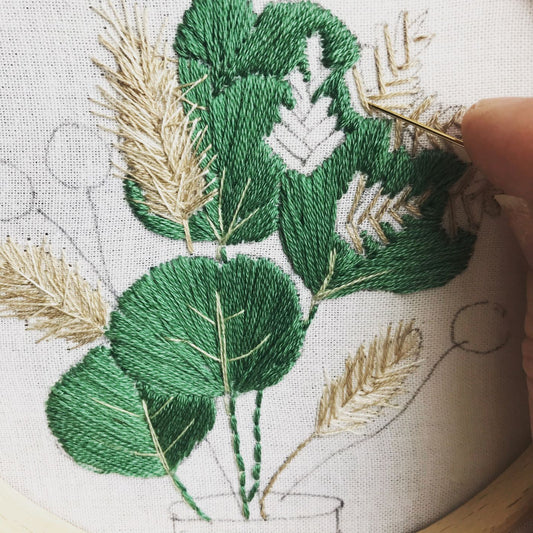
Using a large eyed embroidery needle, embroider the face of the bunny using satin stitch with the black embroidery thread.
