I don't know about you but I'm always looking for useful things to turn my embroidery pieces into. I love stitching purely for the sake of it and it's lovely to hang a finished embroidery piece on the wall but I also love being able to use my embroideries. Making your embroidery into something useful means that you get the pleasure of looking at it every day, making something both useful and beautiful and it just makes those little moments in your day that much more special.

Photos: Making Magazine
In this sewing tutorial I'm going to teach you how to turn our foraging inspired blackberry embroidery pattern into a gorgeous and super useful sleep mask because the shape of it lends it's self well to a sleep mask. You don't need to be limited to this design, however, why not experiment with another of our embroidery patterns? This hand-sewn sleep mask will keep out the light on the long days and having used it myself I know I definitely sleep better when I'm wearing it!

The inspiration for my latest embroidery pattern is a seasonal one and they are ready right now in the UK (August/September). Blackberry picking is a tradition in our part of the world, When the blackberries get plump and juicy we venture out to pick them from the hedgerows where they grow abundantly. With hands dyed purple from inky berries, we head inside to make jams and preserves ready for the winter ahead.
Wether you are a beginner sewist or have a bit more experience you should find this sewing tutorial quick and easy to pick up. Happy stitching!!
Sewing Supplies:
For the Blackberries embroidery:
1 x blackberries emroidery pattern PDF digital download
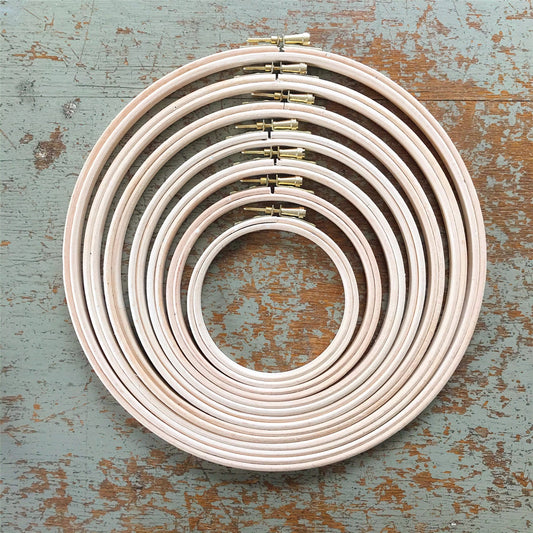
7 inch / 18 cm Wooden embroidery hoop
Embroidery needle
DMC Cotton embroidery floss/thread in the following colours: 469, 732,844,5200,154,3740,727
OR all of the above can be found in our Blackberries embroidery kit
1x printed sleep mask template
24” x 16” (60cm x 40cm) grey-lilac linen
12” x 12” (30cm x 30cm) piece of Cotton wadding
12” x 12” (30cm x 30cm) piece of tear away stabiliser
14.5” (37cm) of 0.25” (6mm) wide elastic
Sewing machine cotton to match the fabric
fabric marking pen/pencil/chalk
Knitting needle/chopstick or similar
2x Safety pins
Pins
Sharp fabric scissors
Small sharp scissors
Sewing machine
Finished DIY sleep mask measures: 8.5”x 4” (21cm x 10cm)
Stitches used in the embroidery pattern: backstitch, satin stitch, French knot, straight stitch, couching stitch and ladder stitch (or slip stitch).
Embroidery and sleep mask sewing tutorial
Step 1 - Preparing the fabric for stitching
Print and cut out the sleep mask template on paper. Draw around the sleep mask pattern on your fabric with an erasable fabric marker, cut a rectangle of fabric measuring 2” (5cm) bigger than your mask all the way around. Making the fabric bigger than the mask will allow you to hoop up your fabric to embroider it.
Step 2 - Transferring the design
Transfer your design into the middle of the mask shape, bearing in mind your seam allowances when positioning your pattern. Cut out a piece of tear-away stabiliser the same size as the fabric and, with the design facing upwards, place underneath the fabric. Put these both into the hoop together, this will help your stitches to stay true once you take your embroidery out of the hoop. Tighten your fabric so that it is taught but not so tight as to distort the weave of the fabric.
Step 3 - Complete the embroidery
Complete the embroidery according to the instructions in the embroidery pattern and stitch guide. you can download the digital pattern or buy the full kit in our online shop
Step 4 - Cutting the fabric
Once you have embroidered your design, pull away the stabiliser from the back of the design being careful not to pull too hard and damage your stitches. The stabiliser will just be left underneath your design.
Now place the paper pattern piece back over your embroidered design, pin and cut around it.
Cut out the rest of your pattern pieces. you will need:
1 x embroidered mask piece for the front,
1 x plain fabric mask piece for the back
1 x long strip of fabric measuring 22” x 2” (55cm x 5cm).
1x piece of cotton wadding the same as the mask piece and then reduce it by cutting away 5/8” (1.5cm) all around it. This will help it to lie flat inside the finished mask.
1 x piece of elastic around 14.5 “ (37 cm) long. You may want to adjust this up or down depending on the size of your head.

Step 5 - Sewing the sleep mask head band
Fold the fabric strip in half lengthways, right sides together and iron. Sew along the length of the fabric using a 3/8 “ (1cm) seam allowance to make a tube. Sew across ONE end of your tube about 3/8” (1 cm) from the edge. Trim the seam allowance close to your stitching all the way along the length of your fabric.
To turn the head strap the right side out, take your knitting needle or chop stick and make a small pocket in the end that you have stitched for your stick to go into. Push against the stick and pull the fabric over the stick. Keep pushing the fabric over the stick until it is all the way through. Unpick the end that was sewn and smooth out. Iron the tube with the seam allowance in the center.

Attach a safety pin to one end of the elastic, insert the safety pin into the tube you have made with the strip and feed it through. Hold the other end of the elastic and make sure it doesn’t travel up into the tube. Once you have pulled it through pin the elastic to each end of the fabric using safety pins to stop it disappearing inside. The fabric will gather as you do this. Spread the gathers out evenly.
Step 6 - Sew together the main body of the sleep mask
Lay the front piece of the eye mask right side up. Right sides together, pin and sew the elasticated tube to the front piece at each side as marked on the pattern, using a 3/8” (1cm) seam allowance, matching the raw edges. Go over this stitching 3 or 4 times to strengthen.
Take the back piece of the mask and lay it over the front of the mask, right sides together, matching up the edges, pin together leaving a hole at the top, the strap will be inside, to make sure that it doesn’t get trapped when you stitch it together you can pull it out of the hole. Stitch around the outside of the mask using a 3/8” (1cm) seam allowance. Trim and notch the seams.

Step 7 - Finish sewing the sleep mask
Turn the mask the right way out and press, insert the wadding into the mask and move it around until it lays flat, Press the seams at the hole inwards and press the mask once more to neaten.
Ladder stitch the hole closed by hand.

I hope you enjoy a restful night's sleep with your newly sewn handmade sleep mask! I know it brings me joy each time a use mine.
Notes on using your DIY embroidered sleep mask:
As this sleep mask has delicately embroidered elements I would recommend hand washing it and lying it flat to air dry. To keep it clean for longer I would remove make up before using it too!
